
Digitizing With Dimension
Unfortunately, some new machine embroiderers start out expecting their machines to be ‘thread printers’ using embroidery as simply another option for transferring an image to the surface of some garment. When they begin digitizing, they treat stitches like any paint program, coloring wide swaths with automatic, easily-programmed flat fills and closing them in with thick lines, all the while ignoring the most fundamental qualities of their medium.
Embroidery is a dimensional art. One of its core characteristics is the raised quality it lends to a surface. Embroidery lives in texture, light, and shadow. The natural sheen of thread, the directional reflection of light, and the creation of form through grouping of stitches makes embroidery the compelling medium that it is. Though almost always digitize to directly from a flat source image, there can be little argument that what will be embroidered is a three-dimensional object, even, as in the patch below, when the final piece is intended to be fairly flat.

Embroidery is more sculpture than print; each design is a shallow relief, with elements built up and standing above the ground. To create the most impact with our embroidery, we should consider not only color, line, and shape when interpreting our two-dimensional source material. We must also take into account layering, form, texture, light and shadow that will be present in our final piece.

Though the semi-automated tools of embroidery digitizing lend themselves to creating uniform, untextured areas of flat fill, we can choose to utilize and celebrate the sculptural nature of stitching. We can see beyond the shapes in our sources to create surfaces that add something that only embroidery and our conscious interpretation can impart on designs. With observation and three simple rendering techniques, we can create well-crafted, dimensional designs with varied surface qualities that no automated system can easily ape.
1. Follow ‘real’ structures
Rather than filling a shape with one flat area of a single stitch type, break it into discrete ‘carved’ elements. When rendering a solid silhouette of a person, divide that flat shape into arms/hands, torso, legs, and head. If a design is large enough to allow the detail, you can even render hair, the nose, brow line, eyes and lips. Man-made or mechanical subjects may have discrete body panels, bumpers, handles, mirrors, hydraulic rams, tires and wheels. Trees break down to masses of leaves, branches, and trunks. An animal’s coat breaks into discrete pelts, their ears, eyes, paws, haunches, and snouts can all become ‘objects’ made of stitches. The art for the two tiny silhouetted women below was a solid silhouette, save the openwork bags. The layering and ‘carving’ was all created during the digitizing process.

Structures present in the ‘real’ subject can be rendered in the texture of your design, whether or not they are clearly shown in your source art. When there are no reference lines for an element that you want to render, look to source photographs to help you define these structures.

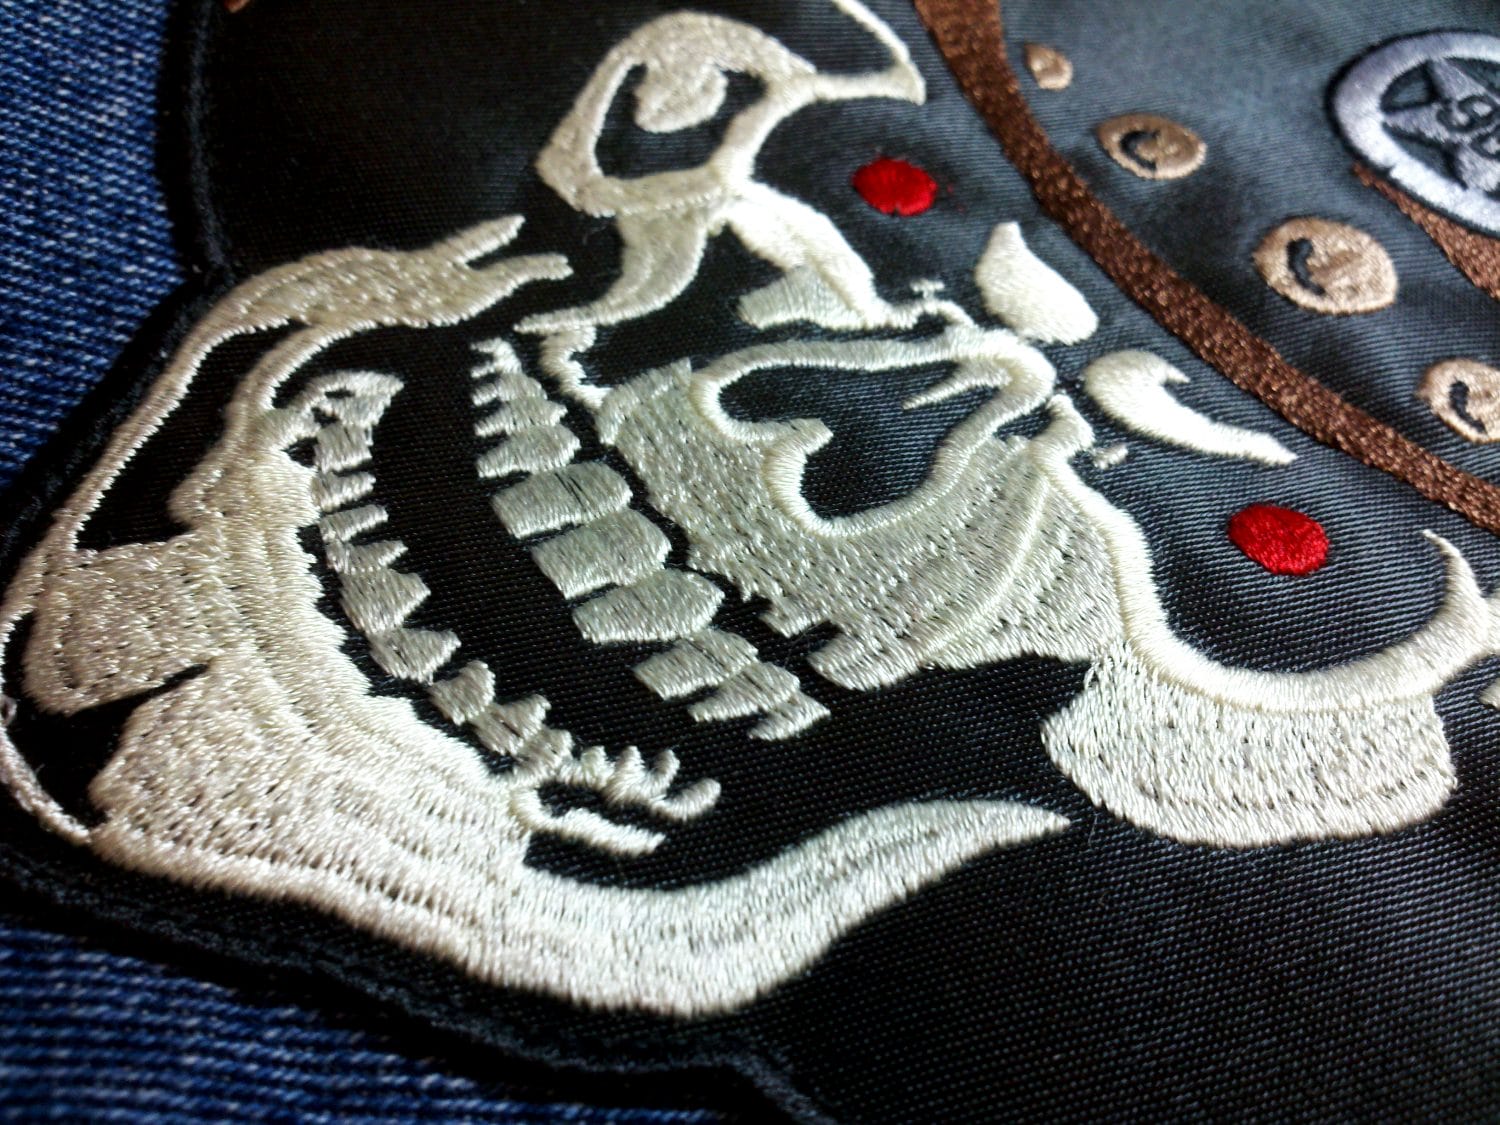
A simple method to help you create these unseen structures in digitizing is to draw outlines of each element you are trying to cull from a solid area before you digitize. Some use analog tools to achieve this, drawing on and re-scanning printed art. Some use vector or raster programs to digitally create a layer of guidelines above the original source. I prefer drawing lines of ‘sacrificial’ straight stitches directly in my digitizing software in a contrasting color for easy identification and removal once my design is finished. In the art below, the entire area of the mane was a solid field of black. As can be seen in the finished version above, I rendered it in overlapping, curving satin stitches to create a more interesting texture. Below is my straight-stitch sketch depicting where each tendril in the mane would eventually be layered.

2.Use stitch types and angles to show characteristics of ‘real’ structures.
Satin stitches perfectly depict roughly cylindrical objects like arms, fingers, the bridge of a nose, tree branches, or pipes. The sheen along the stitches makes for realistic highlights in the centre and shadows at the edges of objects. Satins are useful for any small element needing a great deal of shine, like individual feathers in a bird’s wings. Automatically split or layered satin stitches can do the same job for wider elements as well. In the heraldic lion below, the out-of-focus view lets us concentrate on the light and shadow created by the satin stitches. All of the gold in the lion and crest is a single color, but the split, satin stitched elements provide highlights and shadows that give the lion depth and character.

Though I might have unintentionally demonized them earlier, fill stitches are often best to express large, flat expanses, like doors and walls or body panels on a vehicle. Even so you can ‘carve’ and layer them as discussed in the first technique, breaking expanses into several elements with different stitch angles to increase the play of light and thus the sense of dimension. The stitch angles on the hood of a car should be a shallower angle than the fenders, braking on the line where the angle alters between the two on the real vehicle, making the light follow the structures as it moves across the piece. Some software packages can create fills made of curved lines of stitching- these curves can reflect concave or convex curvature of ‘real’ surfaces. Roughness can even be created by setting the stitches in a fill to a random length; this is an easy way to give a surface a ‘natural’ feel. In the detail below from my oft-referenced carousel horse design, you can see how I broke the horse’s head and neck into several planes, giving each a differently curved and angled fill to hint at the volume of the subject.

Combining stitch types creates contrast. In our silhouette example, shining satin-stitched arms terminate in the duller fill-stitched span of fabric in a shirt, like the shiny satin mane above lying over the duller expanse of the filled neck. The differences in texture and stitch direction make elements stand apart from each other and convey depth.
3. Sequence elements in ‘real’ layers.
Wherever possible, layer elements realistically, building from the ground to the element ‘nearest’ the viewer. Building back to front with real overlaps creates a great sense of depth. If a flag is on a pole, stitch the pole first, and layer the flag atop it, allowing the objects to literally overlap as in life, the pole (minus the elements that will not show at all) lying beneath the flag. One should attempt to create intersections and overlaps that make sense in any given object. When elements build to the foreground naturally, a sense of sculptural depth is a natural by-product. In the example below, the sash’s satin-carved tassels overlay a key, itself carved in many directional satins and split satins and also overlaying a detail from a border below. This small, detail shows how layering, stitch types, and angles come together to create dimension.

This applies to graphical as well ‘actual’ objects- paying clear attention to the order of strokes in a script letter as if it were being written or the over-and-under interlace in a knotwork design makes the design feel like a solid, crafted object, even if the original source is entirely flat. The careful layering and joinery in the letter below shows this sense of solidity that dimensional construction can give graphical elements.

These tips can’t teach you everything about digitizing with dimension, but they describe a critical foundation for taking your digitizing further. By studying form, being aware of the nature of thread, and using that knowledge to create varied and interesting surfaces, you can become a purposeful designer of embroideries rather than a creator of stitched reproductions of other media.

