In spending time with friendly home embroidery enthusiasts, I see differences in practice from my commercial roots; one (relatively) recent development was the rise of ‘floating’. Floating, in this instance, refers to the practice of securing stabilizer in the hoop and either gluing, pinning, or basting garments to this stabilizer before embroidering. Finding people proudly proclaiming that they never hoop anything at all surprised me entirely. I marveled at complicated recipes with stacks of various stabilizers, adhesives, fusible interfacing and starch sprays used in the attempt to keep materials stitching without distortion and free from the hoop’s grip. Since my initial encounter, I’ve heard every argument on both sides of the ‘floating’ battle, and despite my better judgment, decided to give my take on the practice. I’m not self-important enough (no laughing, peanut gallery) to believe that my post will settle the matter. Embroiderers have achieved and will continue to achieve acceptable results with methods on all sides of the debate; but as this is the corner that this particular ghost haunts, I’ll post this and risk that it may not be for everyone.
How I Work: Commercial Hooping
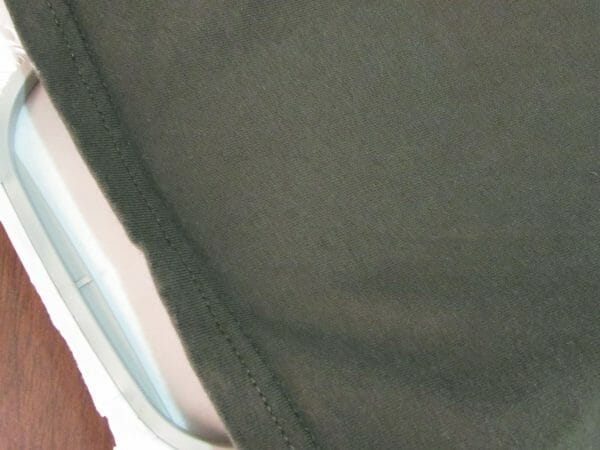
In shops for which I’ve worked, most garments are hooped with one piece of medium weight cut-away stabilizer, excepting thin or performance materials in which we might elect to use a performance-wear specific stabilizer. If the hoops are properly tensioned (screws adjusted to the correct tightness) digitizing is carefully pathed, and densities balanced, the single layer has been enough for most garments.
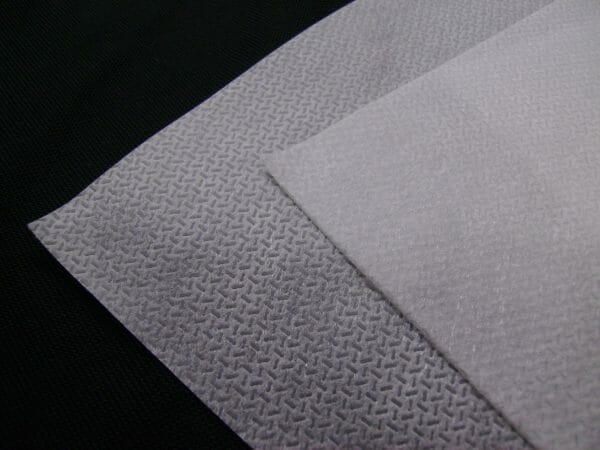
Tear-away was mostly reserved for caps, where it’s not relied upon to keep the material itself stable as much as to tie the cap to the frame. The name ‘stabilizer’ explains what that material should do- keep things stable, restricting movement and stretch during the embroidery process. If material stretches readily, you don’t want something specifically designed to tear when perforated to be the only thing lending stability to your garment; thus, cut-away is the clear choice for most pieces. Adhesives may be used for excessively slick, stretchy, or otherwise difficult fabrics and for placing appliques. It’s rare in my experience to see commercial shops resorting to basting, pinning, or any other method of attachment on the average logo/garment combination.
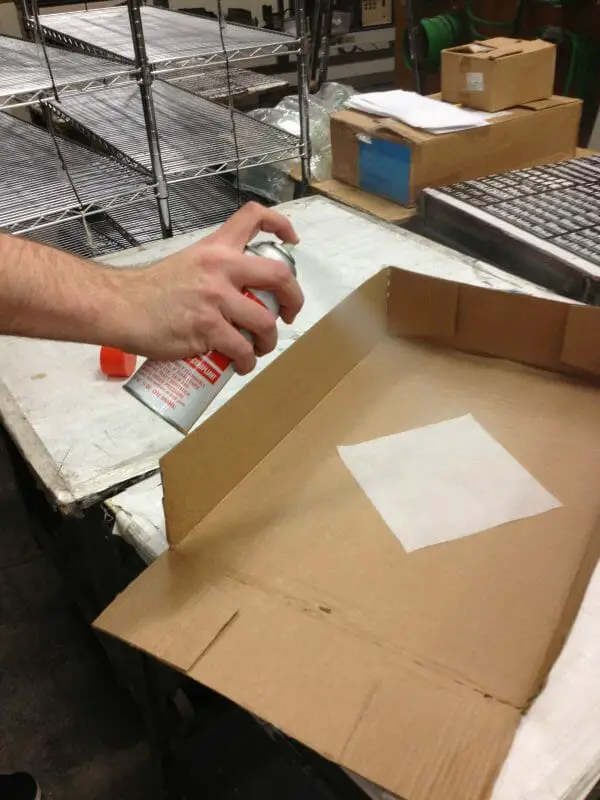
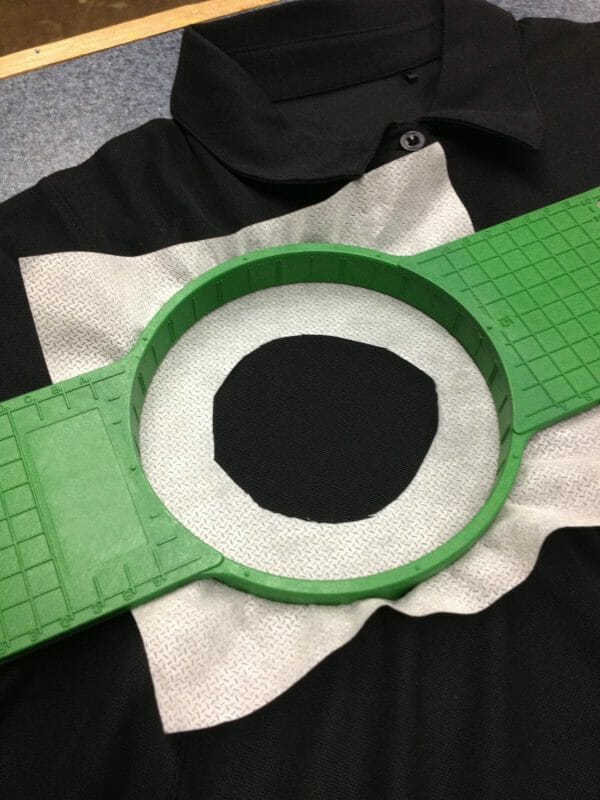
The exceptions to simple hooping methods are items that have zippers, extra-thick seams, etc. that will be damaged by or will not allow hooping in the area we need to decorate, delicate materials crushed or cut by the tension of the hoop (and even then, we can usually hoop these by using a covering ‘window’ of stabilizer atop the garment to avoid abrasion), decoration areas so close to the edge of a garment that we can’t firmly secure them on all sides (we often hoop as much material as we can and adhere the unhoopable edge to the stabilizer), material that will not remain hooped, either due to its thickness, slickness or inflexibility (magnetic hoops and clamping systems have also solved this problem with tension rather than glue), and patches, which are essentially appliques on a sacrificial ground.
Why Do People Float Garments?
The reason I see cited most is something you legitimately can do wrong when hooping. If you over-stretch a garment when hooping the fabric under a design is fixed in that stretched state. Upon unhooping, you’ll find ripples form around the design as the fabric rebounds to its original shape. This experience likely drives a great number of people not to hoop at all.
The second reason has to do with the hoops themselves; in commercial embroidery, standard hoops are usually round, materially stronger, deeper, and easier to adjust than most home hoops. The roundness is important because rectangular hoops like those most home machines use have uneven tension around the embroiderable area. Any place you tug at material at a round hoop’s edge has an equal amount of resistance to sliding. Do the same with a square hoop and you’ll find that the corners are tight while the long sides are less stable, allowing the material to slide, thus making it more likely to be distorted during stitching.
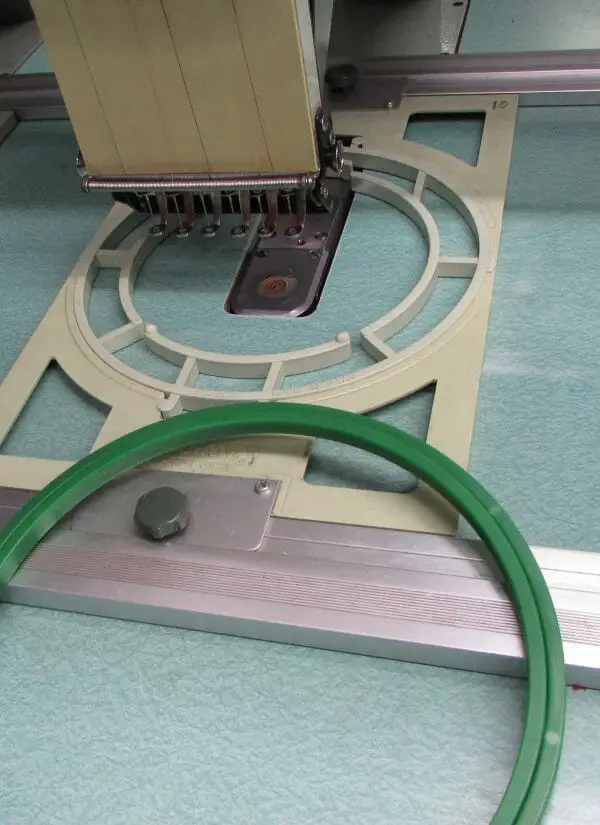
Sticking the material down or physically attaching it to stabilizer which resists movement by being materially strong against distortion may make up for these weaknesses somewhat. This means that a floated piece might turn out better than a piece that was hooped when the material is slippery or if a design pulls directly in the weak dimension of the hoop. A couple of pieces like this might convince an embroiderer that all hooping is ineffective and send them into the permanent float camp. Interestingly, in the commercial world, square hoops are commonly used for the largest pieces, and more and more embroiderers are moving to magnetic hoops- These solve the square hoop’s weakness by applying even pressure through magnets placed uniformly around the perimeter.
Why hoop?
A hoop is made to apply tension and to resist the movement of the garment during embroidery; when used with a proper stabilizer, it’s still the best bet to keeping things from getting off track. An embroiderer once told me, “Why would you hoop the garment? It’s not like it will ever be stretched out or framed when worn?” My reply is that at no point that you are wearing the garment will someone jab a needle through it tens of thousands of times and pull at it in every conceivable direction with the ruthless efficiency of a machine, all while depositing endless loops of thread- or at least you certainly hope. Stresses are exerted during embroidery that will never occur again after the process is over; it’s natural that we have to fight them to get the job done. In my opinion, that means that we hoop, use dimensionally stable materials for our stabilizer, and yes, once in awhile we can even use a little adhesive or do something a bit like basting. Does this mean we never float? Not at all- we float whenever there is no other option or when it serves our decoration. That said, our best bet for even tension and stability is to use the smallest hoop that fits our design (thus eliminating the excess of loose material between our design area and the hoop which gives us our stability), stabilizing with a nice medium-weight cut-away, and hooping with a solid, even tension without stretching our garment. In the case that our hoops are excessively weak at the sides, we may elect to use additional clips to increase tension. There’s no one right method, but this one does have a great deal to recommend it.
There are many ways to get this done; some will float, some will hoop, everybody can give it a try and find their own way. No matter how you hoop, or who you are talking with, keep the tension just right and use an even hand; it’s just good practice to keep things stable. 😉
—–
 Erich Campbell is an award-winning machine embroidery digitizer and designer and a decorated apparel industry expert, frequently contributing articles and interviews to embroidery industry magazines such as Printwear, Stitches, and Wearables as well as a host of blogs, social media groups, and other industry resources.
Erich is an evangelist for the craft, a stitch-obsessed embroidery believer, and firmly holds to constant, lifelong learning and the free exchange of technique and experience through conversations with his fellow embroiderers. A small collection of his original stock designs can be found at The Only Stitch

