
I’ve used this space to pontificate about creativity … and to treat you to Instagram eye candy. And lots of things in between. But I realized I haven’t talked much about the actual making of hats.
I was supposed to post the latest “Millinery Operations” yesterday, but it slipped my mind. Oops! To be honest, I don’t usually plan in advance what each month’s blog post will be about. I go with what inspires me at the time. So… if there are any topics you would like more about, just let me know in the comments! Anyway, here’s some millinery talk for February!

Before I became a milliner, I told a friend that I wanted to make hats. He told me he knew a hat-maker — and that making hats is really difficult.
Here’s the secret: Making hats is not hard. I think sewing clothes is hard. Trying to get pants to fit right and look good (both standing up and sitting down)? That’s really difficult. Hats? Not really difficult, at least in the basic sense.
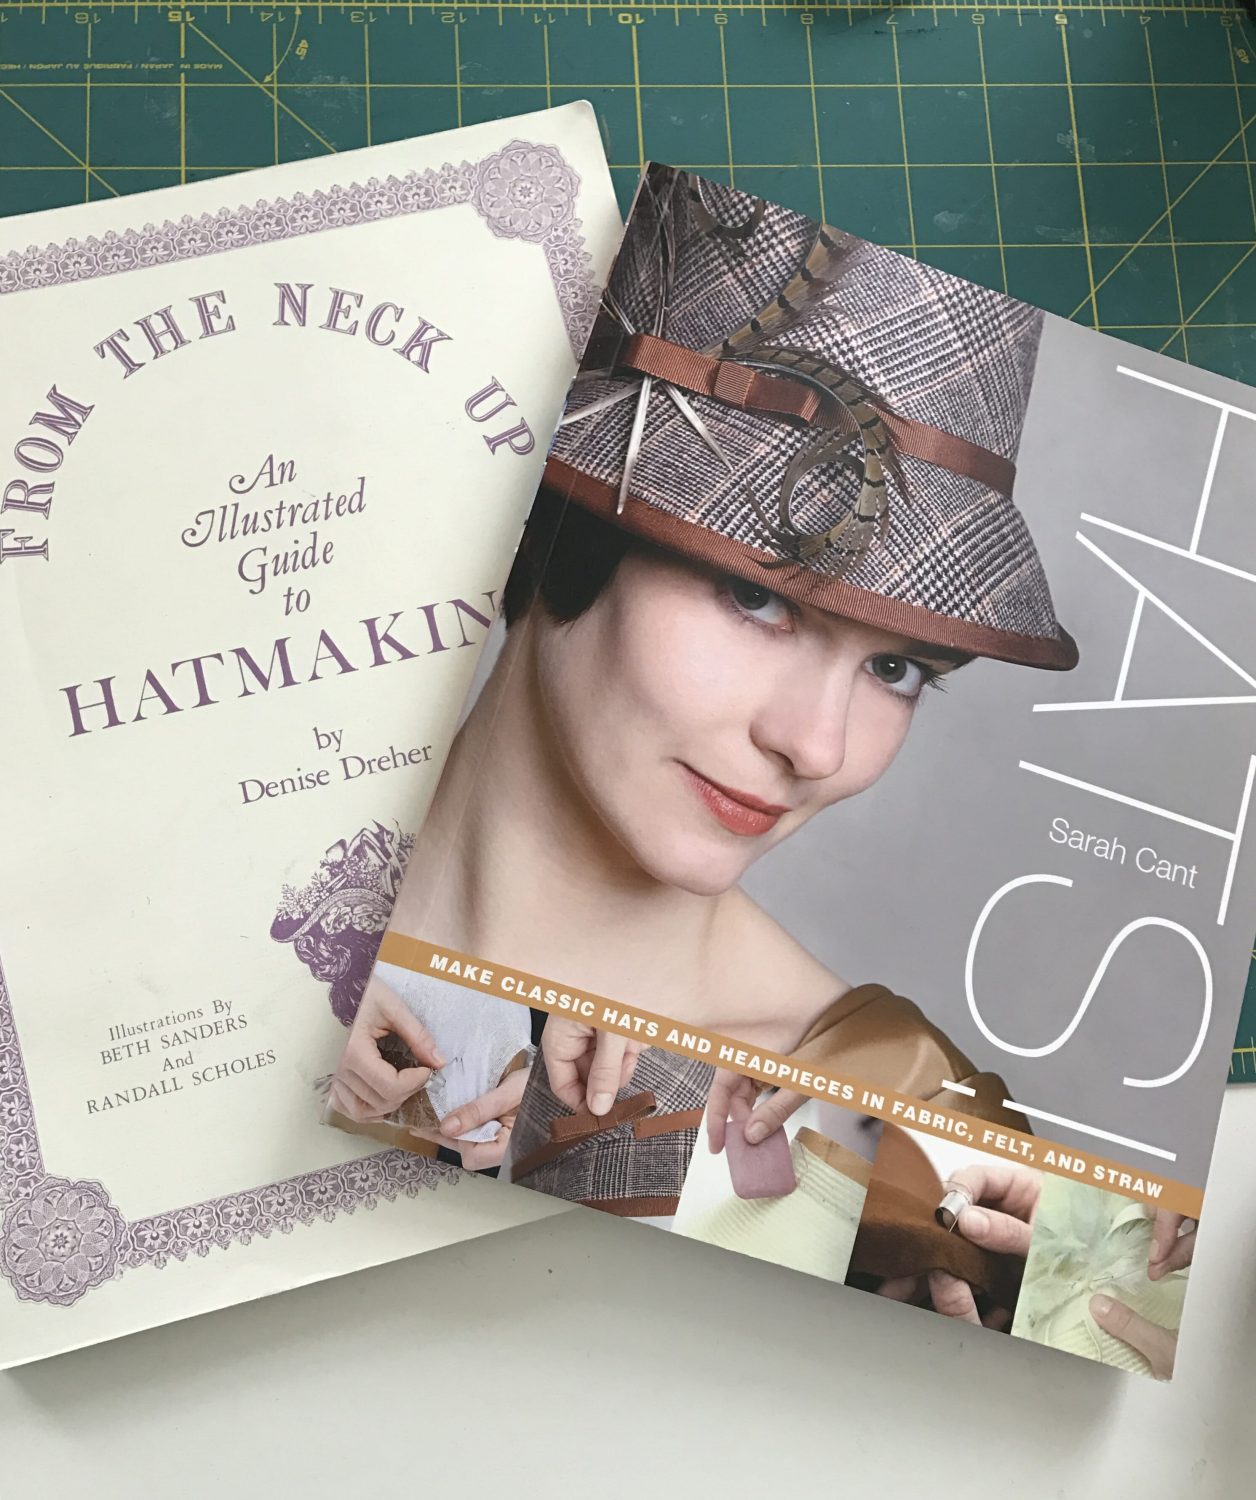
If you don’t have the opportunity to take an in-person class, and you want to teach yourself millinery, I recommend the books From the Neck Up: An Illustrated Guide to Hatmaking by Denise Dreher and Hats by Sarah Cant. (The first one you will always see as the #1 recommendation for millinery books. The second one has excellent photos.)
Following the instructions in these two books, you can easily start making hats right away. (You can also find tutorials on YouTube and various blogs. Or purchase video courses from Hat Academy, which I have never tried but have heard good things about.)
Here are the simple basic steps to making a felt hat:
- Shape the material over wood hat blocks. Steam wool/fur felt and smooth it over the form. A simple shape like a cloche can be very easy to block!
- Sew in a head size ribbon.
- Finish the brim. If your brim doesn’t need to be wired, you can even have a raw edge, which takes only the effort of cutting it neatly.
- Attach the trimmings. (Don’t use glue!) Simple stitches will attach your ribbon to the hat.
Nothing too intimidating!
Here’s what is tricky:
- The time. Making a beautiful hat takes patience, especially if you do all the sewing by hand as in traditional millinery. (Many milliners use a sewing machine to finish the brims or sew in head size ribbons. Others do it all by hand.) The primary stitching techniques used in millinery are not difficult and complicated — but they can take a while to complete.
- The expense. I blogged before about the high cost of materials involved in millinery. To start making hats you don’t need a dedicated steamer and a ton of blocks and felts. You can get started with one block and one hat body. But it’s still pricier than many other creative endeavors.
- Mastering the craft. It’s really easy to make hats. It’s a little harder to make basic hats well. (I know of milliners who have Etsy shops with hats full of sloppy, lumpy stitches.) Then there are fancier techniques: huge, sculptural hats or elaborate feather arrangements. I don’t think any milliners think they’ve mastered everything and have nothing more to learn. Even masters like Philip Treacy keep pushing the envelope.
- Making a living at it. It’s hard to find an audience. Especially in the U.S. Hats just aren’t worn very much. And lots of people who do wear hats are buying mass-produced trilbies, cloches or fascinators. It’s tricky to connect with people who want to pay for high-quality, handmade millinery.
Want to make a hat? Go for it! And write a comment here to let me know how you fared! Good luck. 🙂